Here's what was inside the cabinet, what we replaced, what we cleaned and what it cost, with the photos from the visit.
The call: a Samsung gas dryer in Los Angeles
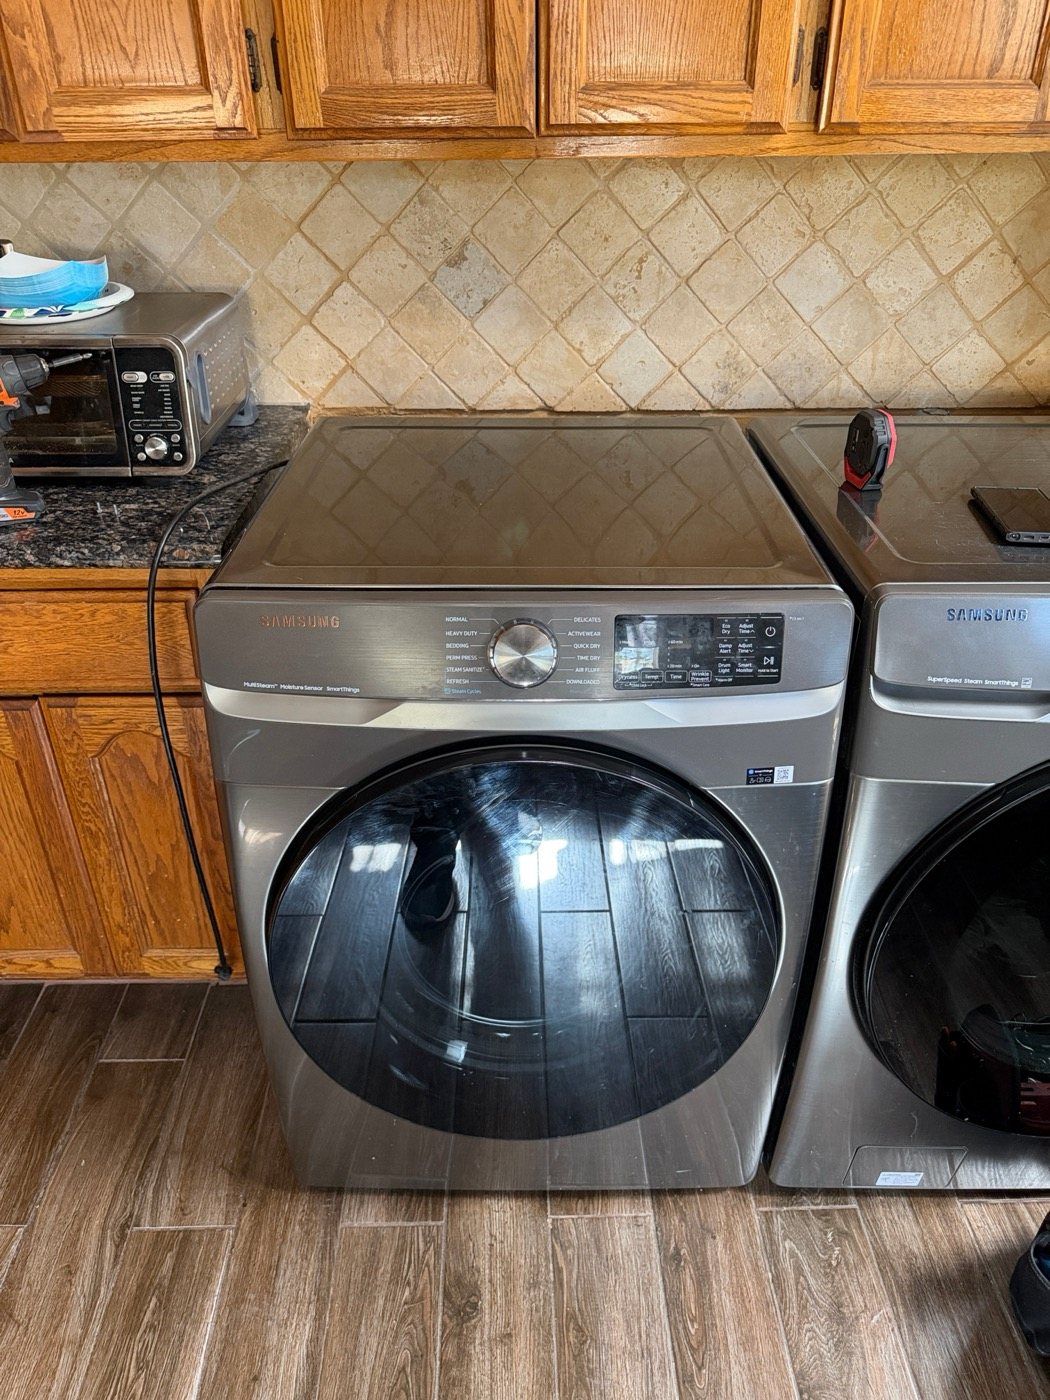
The booking note was two words: Dryer, Samsung. The machine is a DVG45B6300P, a Samsung front-load gas dryer, sitting next to its matching washer. Our technician Axel was at the house on the morning of Wednesday, November 11, 2026.
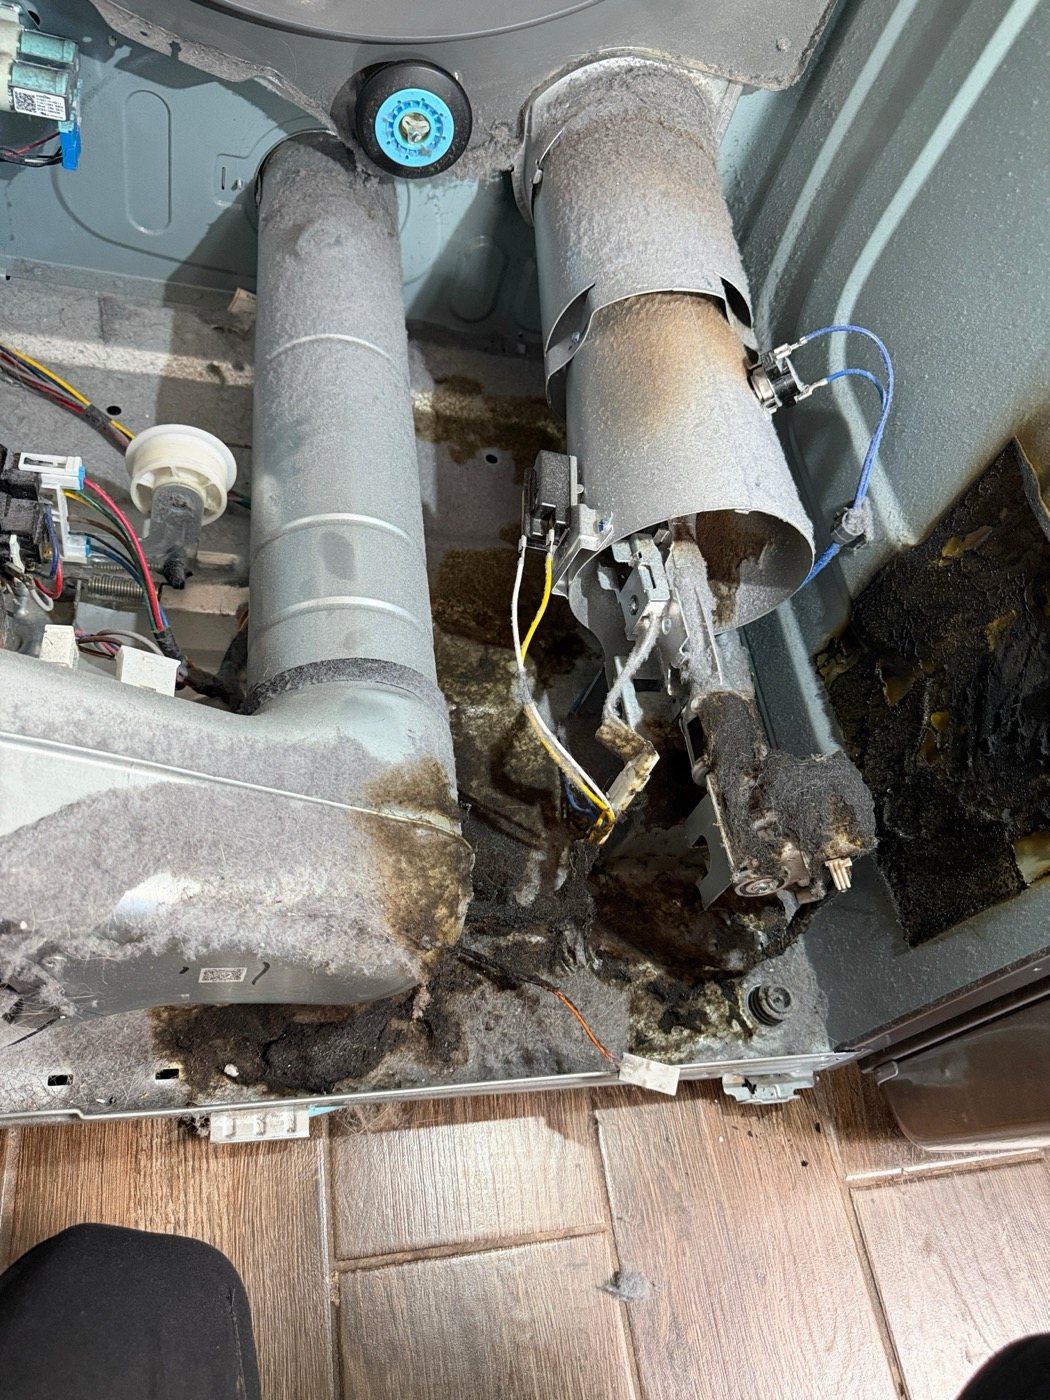
From the front there was nothing to see. On a gas dryer the parts that matter sit low in the cabinet behind the front panel: the burner inside its metal housing, the gas valve that feeds it, and the blower that pulls air through the drum. That is where Axel went.
What was behind the front panel
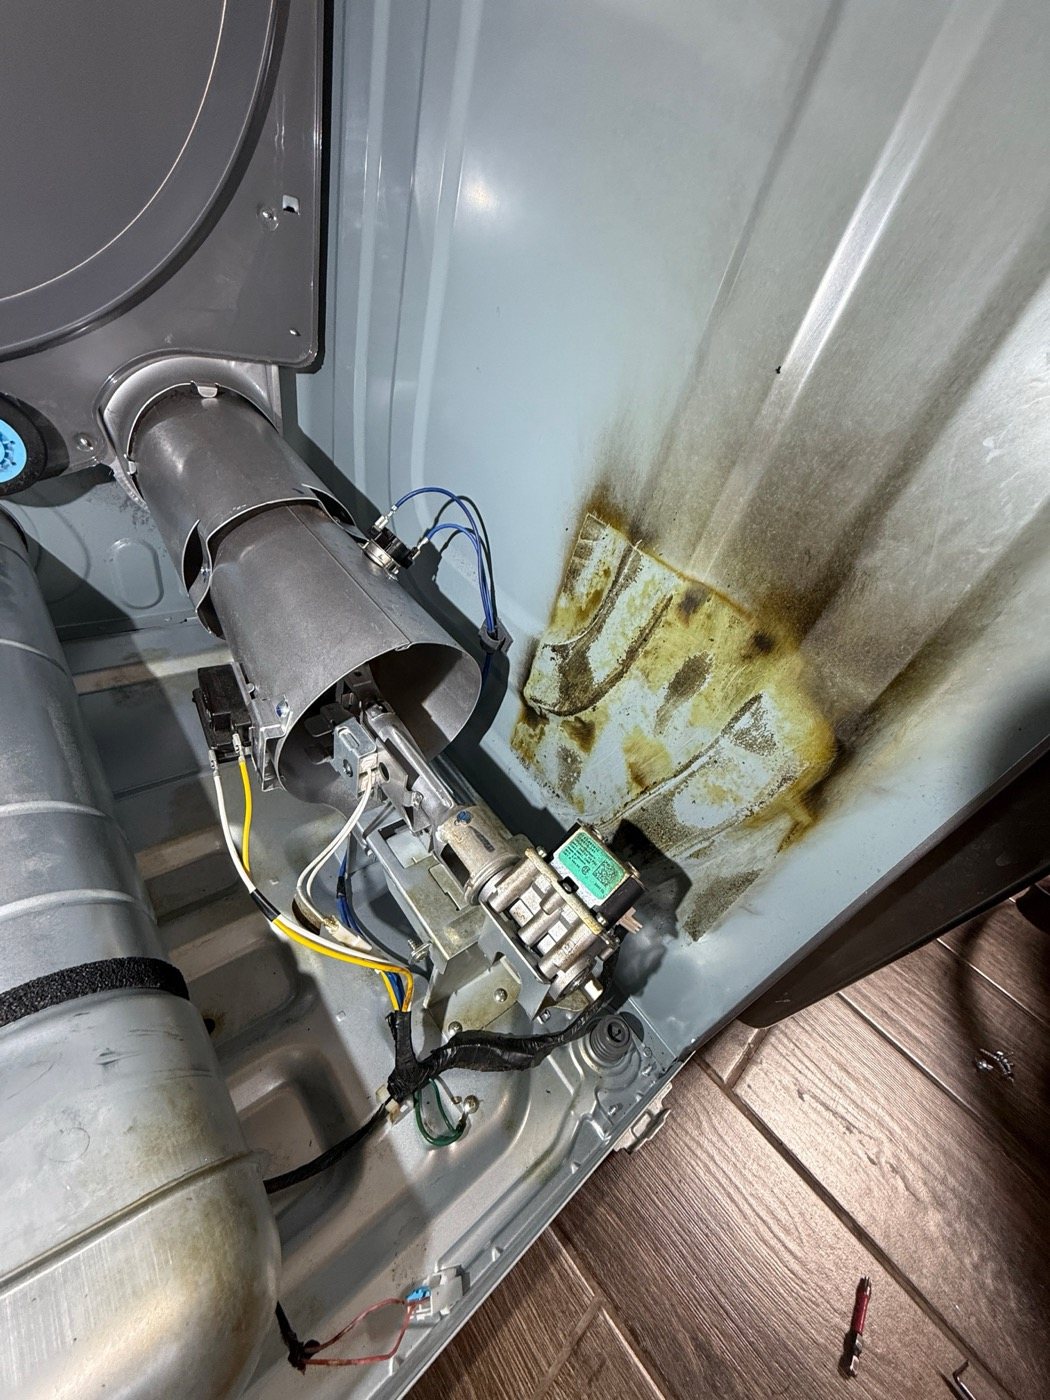
With the front panel and drum out of the way, the bottom of the cabinet was full of lint. It coated the burner housing, the exhaust duct, the blower housing and the cabinet floor. Next to the burner the lint had turned dark and matted, and the side panel beside it had a blackened mat of lint stuck to it, with scorch marks around the edges.
Cleaning the lint filter after every load catches most lint, but not all of it. Some always gets past the filter and the drum seals, and it settles inside the cabinet where nobody sees it. On a gas dryer that matters because lint is fuel and the burner flame is close by.
The gas valve coils
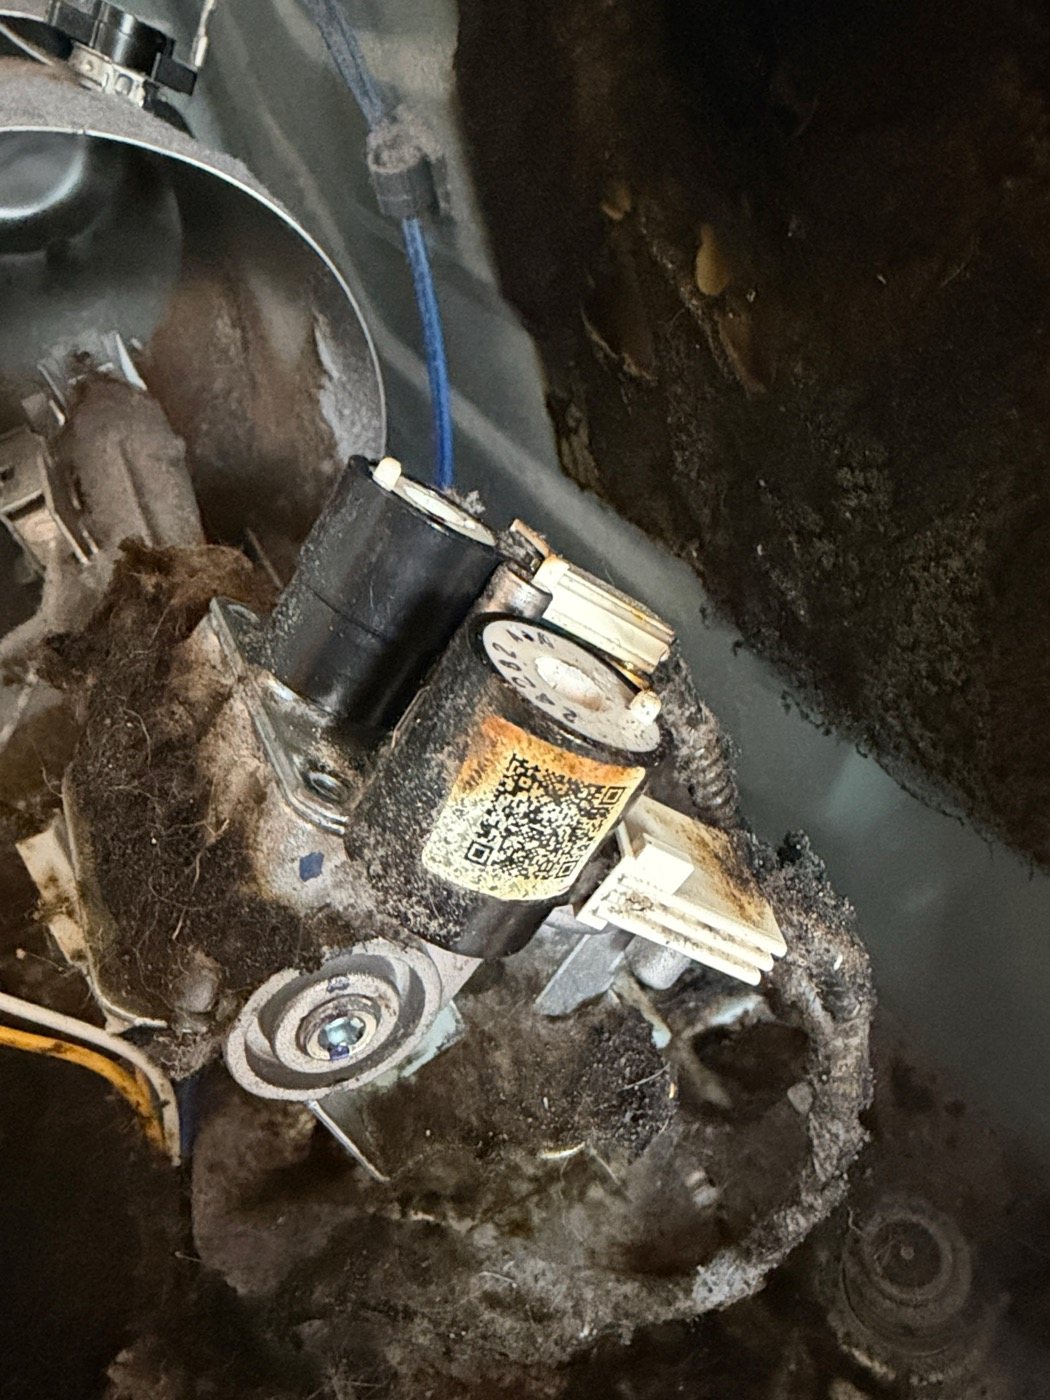
The gas valve on a dryer is opened by small electromagnets called gas valve coils. When the control calls for heat, the coils are energized and the valve opens so gas can reach the burner. When coils weaken, the usual sign is a dryer that heats at the start of a cycle and then tumbles cold.
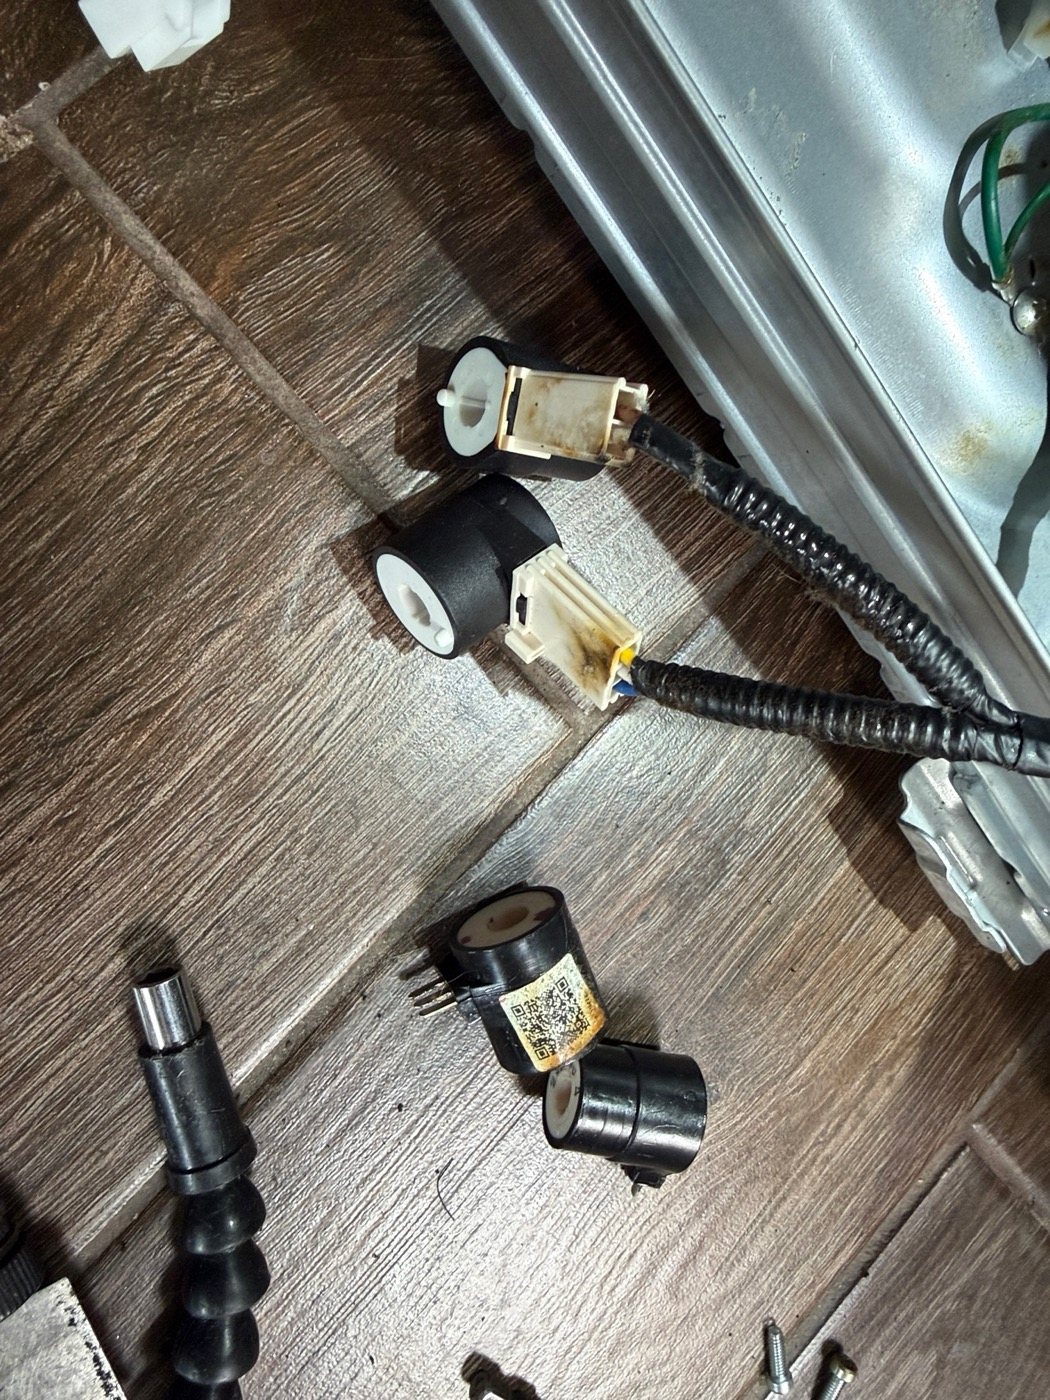
On this dryer the coils sat under dark, matted lint, and the label on one of them had browned. Axel removed both coils and fitted new ones.
The repair: new coils and a full internal cleaning
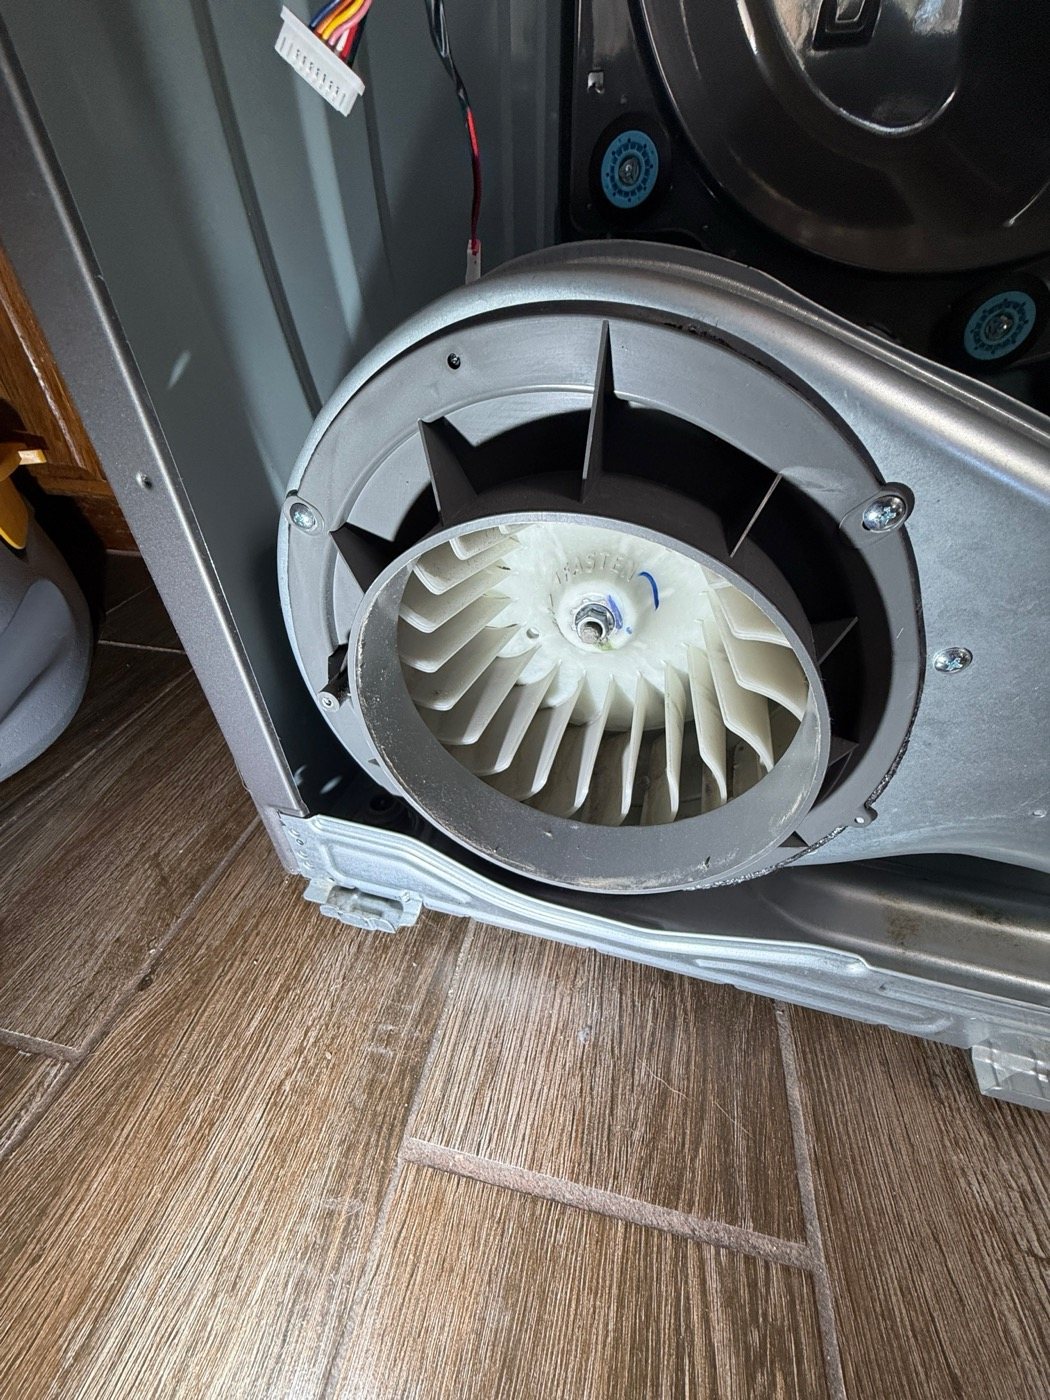
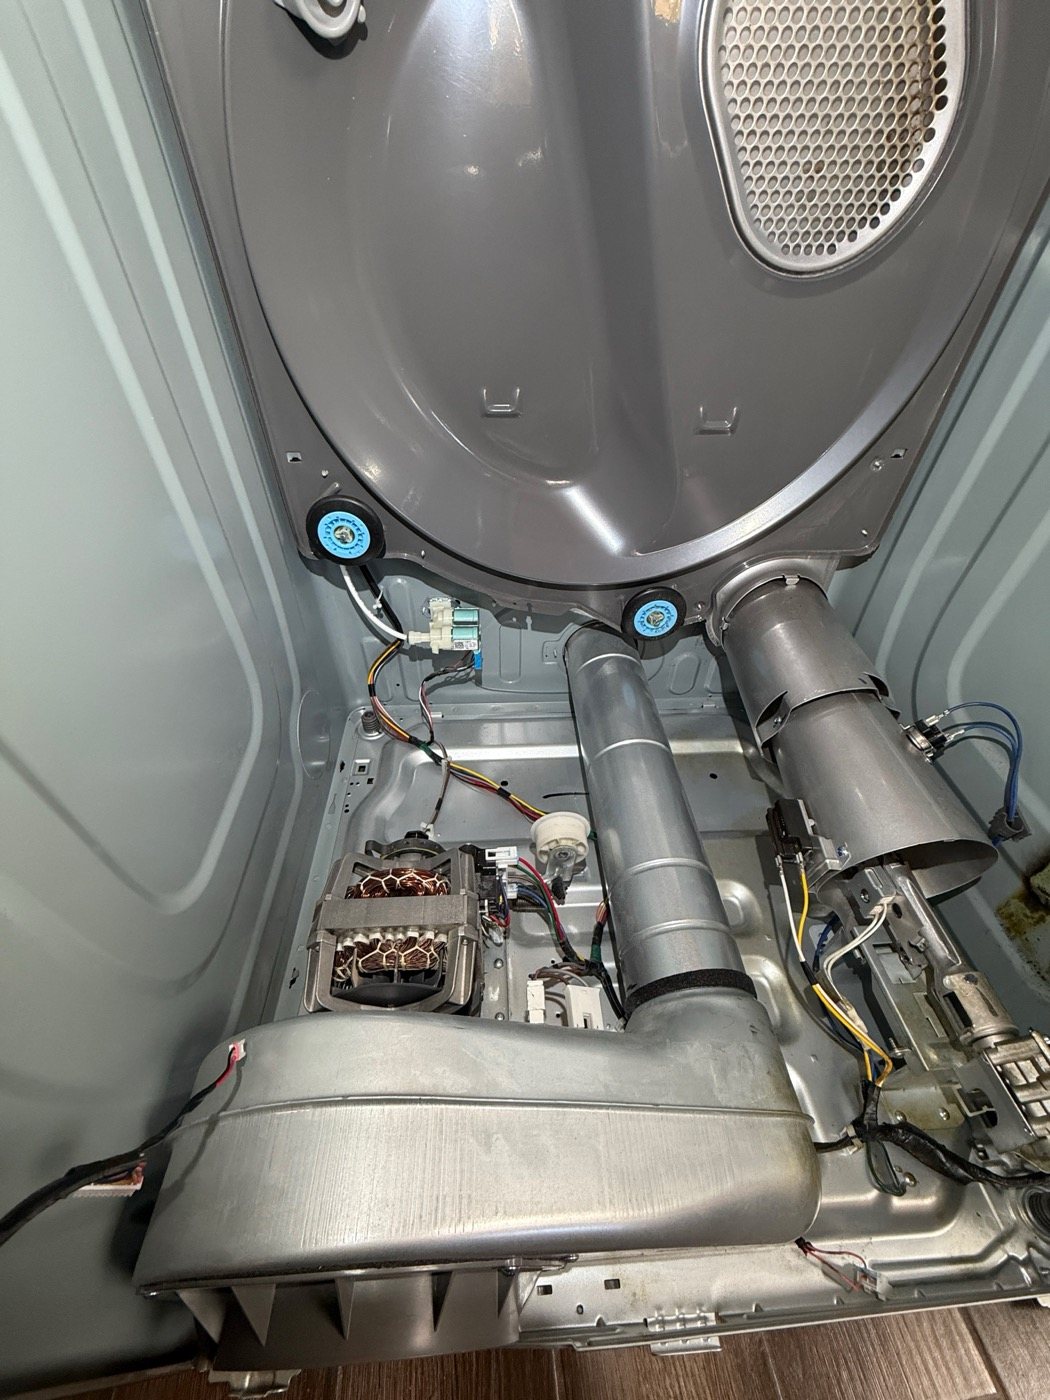
The repair was two jobs done together. The gas valve got new coils, and the whole lower cabinet was cleaned out: the burner housing, the blower housing and wheel, the cabinet floor and the corners where lint had collected.
The photos below were taken at 12:33 p.m. The marks on the side panel are still visible in the after photos. The charred lint that had been stuck against it is gone.
What it cost
The total was $386.88 including tax: $250 for the internal cleaning and the labor to replace the coils, and $124.15 for the gas valve coils. The $85 diagnostic fee was applied to the repair, not added on top.
How to keep lint out of the cabinet
Clean the lint filter after every load, and wash it with warm water now and then if you use dryer sheets, since they leave a film that blocks airflow. Have the vent duct cleaned about once a year, and keep the duct behind the dryer short, metal and free of kinks.
Watch for the signs that air is not moving: loads that take longer to dry than they used to, a dryer top that is hot to the touch, or a burning smell. If you smell burning, stop the dryer and do not restart it until someone has looked inside.